Playtable - An Interactive Table with Light Visualization

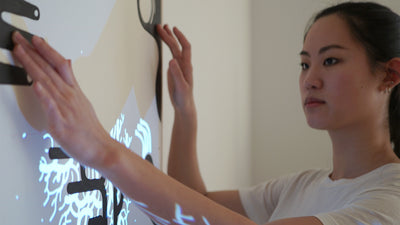
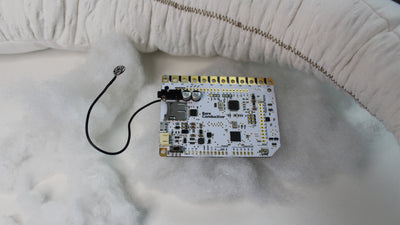
Ever wondered what it would be like to play music from a table? Or how to create a musical instrument using an object from your everyday life? Miroslav Bodis did exactly this when he created the Playtable using the Touch Board and Electric Paint. The Playtable works as a proximity sensor playing midi tones combined with a LED visualization.
We caught up with Miroslav to find out more about this fascinating project.
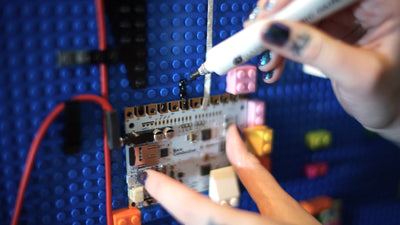
The Playtable has seven black circles, which are painted with Electric Paint. Each sensor is connected to the Touch Board, which reads values from the painted sensors and plays MIDI via 3.5 jack or sends it via USB as an output. The Touch Board is connected to seven Arduino Nano boards to which it sends distance information to be displayed via the LEDs.
On the table, there are also 2 potentiometers. Users can use one to control the volume (this is only for 3.5 jack version) and the other potentiometer changes the setup notes.
Miroslav had to change his initial idea to control the volume for each sensor by distance, using thresholds instead. He programmed the Touch Board to read values from the proximity sensors and send messages to the Arduino Nanos. He then programmed the Nanos to be able to read messages from the Touch Board and toggle LEDs.
The Playtable provides a USB MIDI output interface, a feature that allowed him to master the output from the table using a MIDI protocol.
There are 7 sensors on the table that can be set as a different type:
Single tone - plays one tone in full sensor range
Multi tone - toggles multiple tones based on the distance above the sensor
Chord mode - plays a chord in a full sensor range
Multi chord - toggles multiple chords based on the distance above the sensor
Arpeggio mode - plays tones repeatedly in a tempo that is dynamically changing according to the hand distance above the sensor
While working on the project there were a few challenges to overcome. The first version was in one single file, so after some time Miroslav had to rewrite the code and do some optimization. He had to reset the Touch Board, because the code was too big and he was unable to upload a new one from the Arduino IDE. He also wanted to use the after-touch in MIDI protocol, but since the board does not support this feature, he finally added the MIDI output.
He also mentioned that the painted sensors were a bit faded because of continuous use, so instead of applying more layers of paint, he used transparent spray paint to seal the Electric Paint, this didn't affect the sensors' sensitivity and protected them from smudging.
Miroslav is an Android and Web Developer and he's thinking about creating an Android application where you can set the table setup for sensors and upload it to the Touch Board via OTG cable. Another option would be to connect the output from the table and create some visualization.
Images & Video: Miroslav Bodis
We love it when you share your projects! Post your project on Instagram, YouTube, or Twitter, and make sure to tag @bareconductive or use #bareconductive. You can also send your videos and photos to info@bareconductive.com so we can post them on our site for the world to see.


